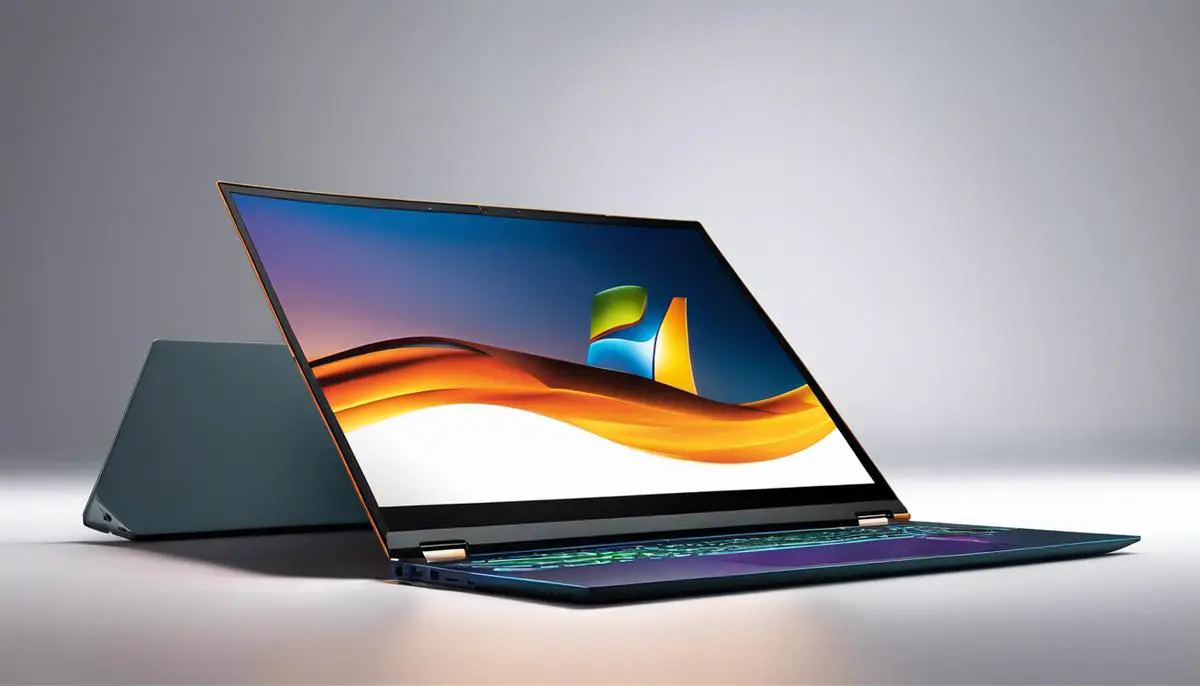
Upgrading an operating system is a significant technological stride that can vastly enhance your computer’s capabilities and user experience. With the advent of Windows 11, many users of Windows 10 are eager to explore the new horizons this update promises. Before taking the plunge, it is essential to be diligent in your preparations to ensure a smooth transition. The road to Windows 11 starts with a critical step of compatibility assurance, where tools such as the PC Health Check app come into play. Following this, the safeguarding of your treasured data through a reliable backup is paramount. Finally, acquainting yourself with the various installation avenues, from the simplicity of a Windows Update to creating a bootable USB drive, lays down a clear path to embracing Microsoft’s latest operating system.
Compatibility Check
Determining PC Eligibility for Windows 11 Upgrade
With the advent of Windows 11, many tech enthusiasts are eager to upgrade and utilize the latest from Microsoft. However, not all PCs may be compatible with this new operating system. This article will walk through the process of determining whether your PC meets the necessary requirements for a Windows 11 upgrade.
Firstly, it’s crucial to understand the minimum system requirements for Windows 11:
- A compatible 64-bit processor with at least 1 GHz speed, having 2 or more cores
- A minimum of 4 GB RAM
- At least 64 GB storage capacity
- UEFI firmware with Secure Boot capability
- TPM (Trusted Platform Module) version 2.0
- DirectX 12 compatible graphics/WDDM 2.x
- A display of 9 inches or greater, with 720p resolution or higher
- An internet connection to perform updates
Should you wish to check your PC’s eligibility, Microsoft provides a tool called “PC Health Check” to simplify the process. Here’s a step-by-step guide on how to use this tool:
- Download the “PC Health Check” application from the official Microsoft website.
- Install the application and run it on your PC.
- Upon launching, select the “Check now” button in the Windows 11 banner at the top of the window.
- The application will then analyze your hardware to verify compatibility with Windows 11.
If your PC fulfills all the requirements, the tool will confirm that your system is eligible for an upgrade. In the event that your PC doesn’t meet the criteria, the tool will specify which components fall short, guiding you about the required changes needed to proceed with the upgrade.
Bear in mind that compatible devices will receive the upgrade first. Even with an eligible device, there may be a wait due to the phased roll-out approach that Microsoft is taking to ensure a smooth transition.
Lastly, for those with ineligible systems, it’s worth considering whether an upgrade to your current PC or investing in a new device is the most cost-effective route to experience Windows 11. This way, you can continue to indulge in the latest technology, as new features and security upgrades are released.
Keep these simple steps in hand to quickly ascertain your upgrade path and whether your system is ready to step into the future with Windows 11.
Backup Important Data
How to Secure Your Data Before Upgrading to Windows 11
Upgrading to a new operating system is an exciting prospect for any tech enthusiast. But before taking the plunge with Windows 11, ensuring the safety and integrity of personal data is vital. This step-by-step guide articulates how to secure vital information ahead of the upgrade process.
Firstly, back up all personal data. Choose between using an external hard drive, a cloud storage service, or both for redundancy. To back up to an external drive, connect the device to the PC, open ‘Settings’, navigate to ‘Update & Security’, select ‘Backup’, and click ‘Add a drive’. Choose the external drive from the list. Use ‘File History’ to set up the backup process, selecting which folders to include and how often to back up.
For those preferring cloud storage, services like OneDrive or Google Drive are excellent choices. Simply download the corresponding app and follow the on-screen instructions to synchronize files.
Next, consider creating a system image for a comprehensive backup. Access ‘Control Panel’, select ‘Backup and Restore (Windows 7)’, and click ‘Create a system image’. Choose where to save the image, whether on an external drive, a network location, or on multiple DVDs. This system image captures the entire system configuration and can be pivotal if a clean installation becomes necessary.
To secure individual settings and app choices, employ the ‘Sync settings’ function in Windows 10 before the upgrade. Click on ‘Settings’, go to ‘Accounts’, and under ‘Sync your settings’, toggle on ‘Sync settings’. This preserves numerous settings and preferences in the user’s Microsoft account.
It’s also crucial to record product keys and serial numbers for applications and software. Utilize a tool such as ‘Belarc Advisor’ for an in-depth inventory of installed software and corresponding licenses. Store this information securely, ensuring easy retrieval post-upgrade.
As an added precaution, purge the system of unnecessary files—use ‘Disk Cleanup’ to remove temporary files, system files, and empty the Recycle Bin. Launch ‘Disk Cleanup’ from the ‘Start’ menu, select the system drive, and click ‘OK’ to analyze unnecessary files ripe for removal.
Remember to deauthorize programs tied to the current machine. Software like iTunes and certain Adobe products have limited activations, so deauthorizing preserves the ability to use them on another machine or post-upgrade.
Once the data is secure and backed up, ready the PC for the upgrade. Disconnect superfluous peripherals to prevent conflicts during installation: printers, cameras, external hard drives—anything not crucial to the core function of the PC.
Post-upgrade, revisit the ‘Settings’ to customize the new environment. Check that all data is accessible and apps function as expected. Take a moment to marvel at the seamless fusion of preparation and technology—a hallmark of any savvy tech connoisseur.
Wrapping up, securing data before an operating system upgrade ensures peace of mind and a seamless transition to new technological horizons. With these precautions, diving into Windows 11 is not just a tech leap, it’s a calculated stride into the future of computing.

Installation Process
Preparing the Installation Media for Windows 11
Once all preliminary checks and backups are completed, the next vital step in installing Windows 11 is to prepare the installation media. This is a straightforward process that involves creating a bootable USB flash drive or downloading an ISO file to burn onto a DVD. To ensure a successful installation, follow the guidelines below to create your installation media:
- Acquire the Media Creation Tool: Visit Microsoft’s official website to download the Media Creation Tool. This utility is specifically designed to assist users in creating installation media for Windows 11.
- Run the Media Creation Tool: Once the tool has been downloaded, locate the file—commonly named ‘MediaCreationTool’ followed by the version number—and double-click it. Click ‘Yes’ if prompted by User Account Control.
- Accept the License Terms: Upon launching, you will be presented with Microsoft’s license terms. Read through these carefully and click ‘Accept’ to proceed.
- Choose Media Type: Select the ‘Create installation media (USB flash drive, DVD, or ISO file) for another PC’ option. Click ‘Next’ to continue.
- Select Language and Edition: The tool will typically default to the language, edition, and architecture that match your current system. If you need to make changes or are creating the media for a different PC, uncheck the ‘Use the recommended options for this PC’ box and make the necessary selections.
- Choose the Media: You have two options. For a bootable USB flash drive, insert a drive with at least 8GB of space, select ‘USB flash drive,’ and choose your drive from the list. If you opt for an ISO file to burn onto a DVD later, select ‘ISO file’ and choose a location to save it.
- Begin the Creation Process: Click ‘Next’ after selecting your media type. For a USB drive, the tool will download Windows 11 and create the bootable media directly. With the ISO option, the tool will download the ISO and you will have to use a separate program to burn it to a DVD.
- Complete the Media Creation: Once the process is finished, a message will confirm the creation of the installation media. If a USB drive was used, it is now ready to install Windows 11. For an ISO file, proceed to burn it onto a DVD using your preferred disc-burning software.
Installing Windows 11 from the Installation Media
With the installation media prepared, it’s time to install Windows 11 on your PC.
- Insert the Installation Media: If using a USB drive, plug it into your PC. For a DVD, insert it into your DVD drive.
- Reboot Your PC: Restart your computer. As it powers back on, access the boot menu or BIOS/UEFI by pressing the appropriate key (commonly F2, F12, DEL, or ESC).
- Boot from the Media: In the boot menu or BIOS/UEFI settings, set the USB drive or DVD as the first boot device. Save changes and exit. Your PC will reboot from the installation media.
- Follow the Installation Prompts: Once booted, the Windows 11 setup screen will guide you through the installation process. Select your language, time and currency format, and keyboard inputs when prompted and click ‘Next’.
- Install Windows 11: Click ‘Install now’ and enter your Windows 11 product key when prompted. Agree to the license terms, choose ‘Custom: Install Windows only (advanced),’ and select the drive or partition where you want to install Windows 11.
- Complete the Installation: The installer will copy the necessary files to your PC and restart several times. Follow any additional on-screen instructions to finalize the setup, such as setting up a user account, choosing a password, and customizing your settings.
After these steps, Windows 11 will be fully installed on your system. Enjoy the new features and enhancements of your freshly upgraded operating system.

The journey toward upgrading to Windows 11 brings with it the anticipation of new features and enhanced performance. However, it’s imperative to approach this process with meticulous attention to detail and an informed standpoint. By taking the time to verify compatibility, secure your data, and understand the installation options, you’ll be well-equipped to navigate the upgrade with confidence. As you complete the transition and start to explore the breadth of innovation Windows 11 has to offer, you’ll appreciate the diligence that paved the way for a successful system transformation, ready to take on the tasks of tomorrow.