Moving to Windows 11 comes with its set of rules – a checklist that your computer must tick off to ensure it’s ready for the upgrade. This guide walks you through the essentials, from the hardware necessities to the software specifics that pave the way for a seamless transition. Without getting too deep into the tech jargon, we aim to simplify what Windows 11 expects from your PC, setting the stage for what you need to know and do.
Understanding Windows 11 Minimum Requirements
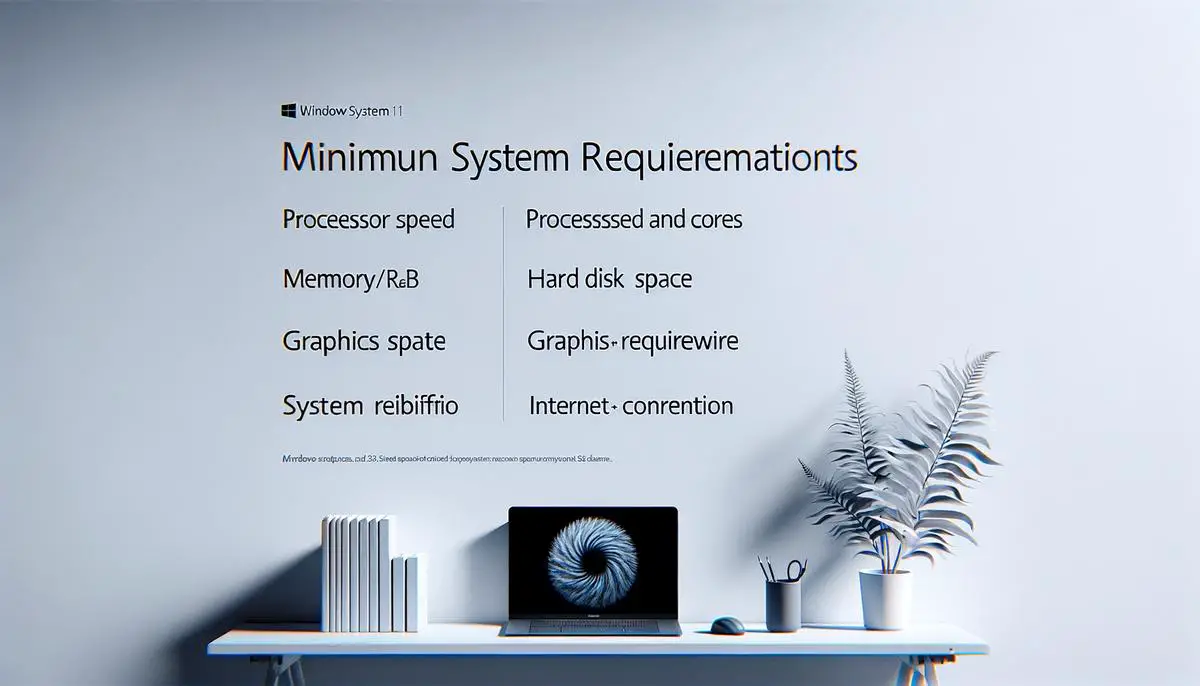
Windows 11 Minimum System Requirements
Upgrading to Windows 11 demands specific system requirements to ensure compatibility and optimal performance. Here’s a concise guide to the minimum system specifications your PC must meet.
Processor: Your computer must have a 1 gigahertz (GHz) or faster processor with 2 or more cores on a compatible 64-bit processor or System on a Chip (SoC).
RAM: It requires at least 4 gigabytes (GB) of RAM to run smoothly.
Storage: Windows 11 requires a minimum of 64 GB* of available storage to install. Note that more space may be necessary for updates and enabling specific features.
System Firmware: UEFI, Secure Boot capable, is essential for Windows 11. This requirement ensures that your device boots securely and protects against low-level exploits.
TPM: Trusted Platform Module (TPM) version 2.0. Windows 11 leverages this security feature for enhanced protection against malware and other security threats.
Graphics Card: A DirectX 12 compatible graphics card or chip with a WDDM 2.0 driver is necessary. This compatibility ensures better visuals, faster frame rates, and more detailed graphics in applications and games.
Display: A high-definition (720p) display, 9″ or larger diagonal, with 8 bits per color channel, is required for the best experience.
Internet Connection and Microsoft Account: Windows 11 Home edition requires internet connectivity and a Microsoft account to complete the device setup on its first use. Subsequent updates and some features also require internet access.
Remember, meeting these minimum requirements does not guarantee optimal performance. It’s always recommended to exceed these specifications when possible for a smoother and more enjoyable experience with Windows 11. Configuration may vary by device, and some features require specific hardware; consult your PC’s manufacturer for more details.

Using the PC Health Check App
Using the PC Health Check App to Determine Windows 11 Compatibility: A Step-by-Step Guide
With the introduction of Windows 11, many are questioning whether their PCs can handle the new operating system. Microsoft’s PC Health Check app provides a straightforward solution, enabling users to quickly assess their computer’s compatibility with Windows 11. Follow these clear steps to utilize the PC Health Check app effectively.
Step 1: Download the PC Health Check App
Head to the official Microsoft website and locate the PC Health Check download page. Click on the “Download” button to obtain the app. Once the download is complete, navigate to your download folder and run the installer. Follow the on-screen instructions to complete the setup.
Step 2: Launching the Application
After installing, locate the PC Health Check app on your computer and open it. The interface is user-friendly, featuring a clean design that makes navigation effortless.
Step 3: Perform the Compatibility Check
On the app’s main screen, you’ll see a section prominently labeled “Introducing Windows 11.” Beneath this header, find and click on the “Check now” button. This action initiates the app’s scrutiny of your PC’s specifications against the Windows 11 compatibility criteria.
Step 4: Review the Results
Upon completing the assessment, the app will display one of two possible outcomes. If your PC meets the necessary requirements, a message will congratulate you on your device’s compatibility with Windows 11. Conversely, if your PC falls short, the app will inform you which areas do not fulfill the prerequisites. This feedback is crucial for understanding any upgrades or changes needed.
Step 5: Exploring the Report
For those whose PCs are not initially compatible, the PC Health Check app provides detailed insights into the specific requirements not met. Use this information to consider potential hardware or software updates. Remember, even if your PC currently doesn’t qualify, modifications can often render it compatible.
Closing Steps
For users with PCs ready for Windows 11, you can look forward to a new level of productivity and entertainment experiences. If upgrades are in order, prioritize them based on the app’s feedback, keeping future compatibility in mind.
By following these steps through the PC Health Check app, determining your PC’s readiness for Windows 11 is a simple and efficient process. This tool not only clarifies compatibility status but also guides users toward making informed decisions about their hardware.

Manual Compatibility Checking
Beyond the basic system specifications for Windows 11, there are a few more aspects you should manually check to ensure your PC is fully compatible and ready for an upgrade if you haven’t used the PC Health Check App or need more detailed information. Here’s how to manually dive deeper into your system’s readiness for Windows 11.
Check Secure Boot State
- Enter BIOS Setup: Restart your computer. As it begins to reboot, press the key to enter BIOS setup. This key can vary; common ones include F1, F2, F10, Del, or Esc. The correct key is often displayed during the boot process with a message such as “Press [Key] to enter Setup.” If unsure, consult your PC’s manual or manufacturer’s website.
- Navigate to the Secure Boot Setting: Once in the BIOS menu, look for a tab or section labeled “Boot,” “Security,” or “Authentication.” The exact location can vary significantly depending on your motherboard’s manufacturer.
- Verify Secure Boot Status: Within the menu, find the “Secure Boot” option and check if it’s enabled. If not, and your system supports Secure Boot, consider enabling it to meet Windows 11 requirements. Save changes and exit BIOS.
Check DirectX and WDDM Version
- Open Run Dialog: Press
Windows key + Rto open the Run dialog box. - Launch DirectX Diagnostic Tool: Type
dxdiagand press Enter. Wait for the tool to gather information about your system. - Review DirectX Version: In the System tab, find the “DirectX Version” listed at the bottom. Windows 11 requires DirectX 12 or later with WDDM 2.0 driver.
- Check WDDM Version: Switch to the “Display” tab(s) for your graphics card(s). Under “Drivers,” look for “Driver Model” to find the WDDM version. Ensure it’s version 2.0 or higher.
Verifying CPU Compatibility Further
- Access CPU Information: Right-click the Start button and select “System” to open the About page. Under “Device specifications,” find the “Processor” field to note your CPU model.
- Check Microsoft’s CPU List: Visit the official Windows 11 processor requirements page on Microsoft’s website. Scan or search for your processor model to verify it’s supported for Windows 11.
Concluding Thoughts
Manually checking your PC’s compliance with Windows 11’s requirements might seem daunting but ensures you’re not caught off-guard. Each step, from verifying Secure Boot and DirectX/WDDM compatibility to checking your CPU against Microsoft’s list, equips you with the knowledge to either upgrade confidently or understand what might need an upgrade in your system. While tools like the PC Health Check App simplify the process, diving into these details manually can provide clearer insight and preparation for a smooth Windows 11 experience. Remember, meeting the minimum requirements is just the start; optimal performance often requires going beyond these basics.

Ensuring your PC is up to par with Windows 11’s specifications may seem like a hefty task but think of it as making sure your computer is ready for the future. Step by step, whether through automated tools or a manual check-up, you’re not just preparing for a new operating system; you’re gearing up for a better, more secure experience with your device. With every requirement checked off, you edge closer to unlocking new potentials in productivity, security, and entertainment. Embracing these criteria means opening doors to a world where technology meets necessity – effortlessly and efficiently.