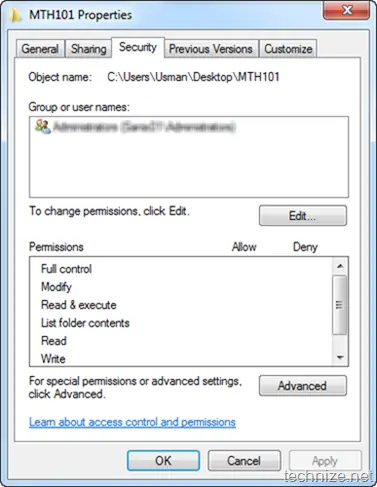
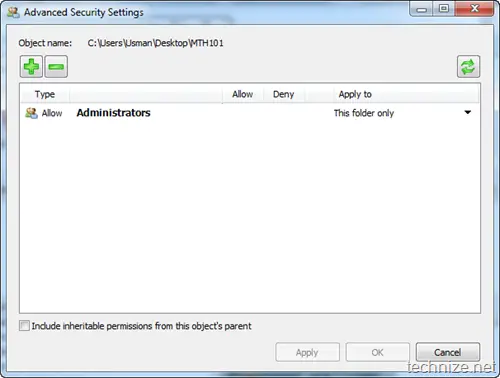
Setting NTFS file permissions are not a straight forward job in Windows. One has to know a bit about file permissions to configure the NTFS file permissions. To configure NTFS file permissions, one has to go to the file or folder properties and then click on the Security tab which will give the options to set the security permissions.

As you can see that it’s pretty difficult for a newbie to set the file permissions for any file or folder in Windows. NTFS Permission Tools is a portable and free tool that will make the configuration of NTFS file permissions very easy. You only have to open NTFS Permission Tools and then drag and drop the file or folder to the GUI of NTFS Permission Tools to configure its NTFS file permissions.

As you can see in the above screenshot, when you drag and drop the folder on the window of NTFS Permission Tools, you’ll be able to easily set basic file permissions on the go. You can simply click on Permissions drop down menu to allow, read only or deny a folder or file. In the Account drop down menu, you can select the users on whom the permission will be applied. You can also select the owner of the file or folder in the Owner drop down menu.
To go advanced, just right click the item and select Advanced. Here you can add multiple users and groups and set different security settings for them. You can also configure one file or folder with appropriate permissions and then copy it to all other files and folders on which you want to apply the same settings.

The permissions backup and restore feature enables you to rollback changes if anything goes wrong. This tool can be very useful for administrators who work with NTFS file permissions a lot. You can keep this little software in your USB first aid kit for troubleshooting purposes.
Download NTFS Permission Tools [753 KB]